DIY Built In Bookshelves on a Budget (Step-by-Step)
We may earn a commission for purchases made using our links. Please see our disclosure to learn more.
Built-in shelves can instantly make a room feel more organized and intentional. They create extra storage, reduce clutter, and give your space a custom look that standard furniture often can’t match. Many homeowners turn to diy built in bookshelves because they offer a practical way to upgrade a room without spending a fortune. In this guide, you’ll learn how to build built-in bookshelves step by step, keep costs under control, and finish the project in a way that looks clean and professional.
Benefits of Building Your Own Built-In Bookshelves
Before grabbing tools, it helps to understand why so many homeowners choose this project.
Built-in bookshelves offer several advantages:
- They maximize unused wall space
- They increase home value
- They create a custom, high-end look
- They improve organization
- They can be built to match any style
Additionally, built-ins make a room feel more permanent and thoughtfully designed. Instead of furniture that can shift or feel temporary, shelves anchored to the wall create visual stability.
That’s why this project continues to grow in popularity among DIY enthusiasts.
Planning Your DIY Built In Bookshelves Project
Good planning saves time, money, and frustration. Most problems happen before the first cut—not after.
So take a few minutes to think through the details.
Measure Your Space Carefully
Start by measuring:
- Wall width
- Ceiling height
- Baseboard depth
- Door and window clearance
Write everything down. Then measure again.
Accurate measurements prevent wasted materials and awkward gaps later.
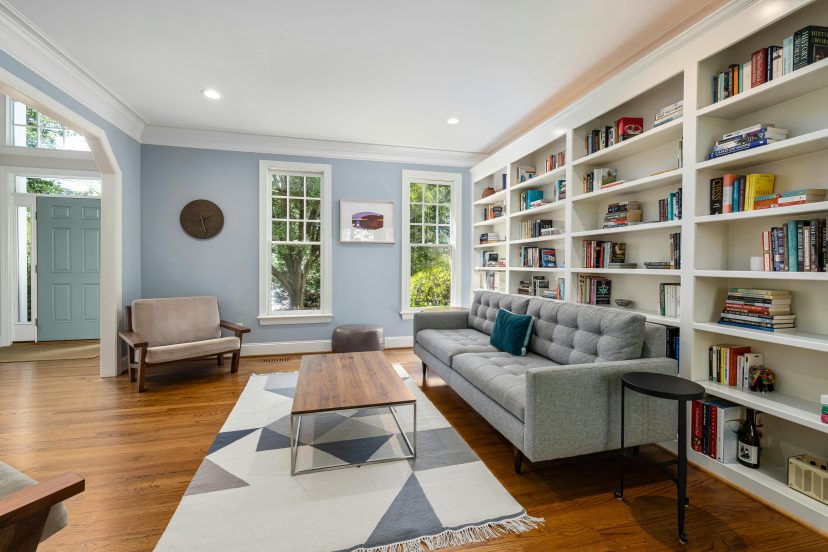
Choose the Right Location
The best spots for built-in shelves include:
- Living room feature walls
- Around fireplaces
- Home offices
- Bedrooms
- Hallways
Look for areas where storage is needed but floor space is limited.
Decide on Shelf Style and Depth
Most shelves fall between:
- 10 to 12 inches deep for books
- 12 to 15 inches deep for decor and storage
Shallow shelves feel lighter and modern. Deeper shelves provide flexibility.
Choose what fits your lifestyle.
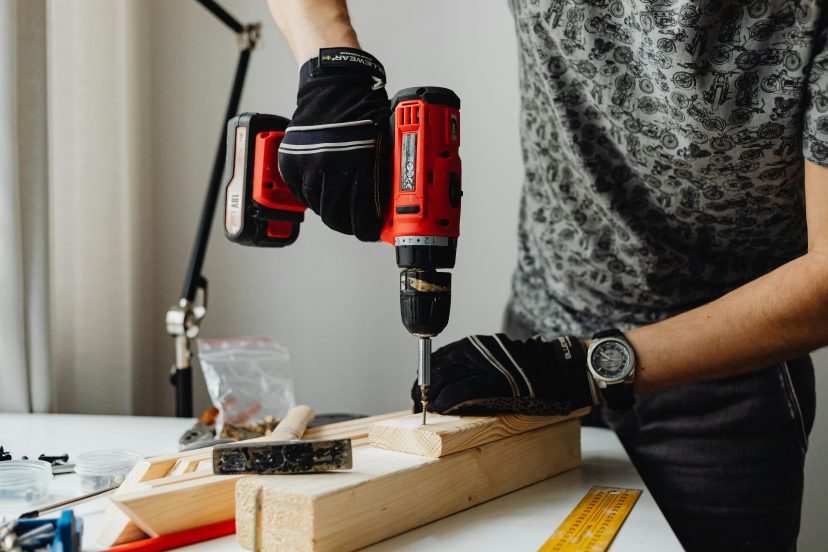
Tools and Materials You’ll Need
You don’t need a workshop full of equipment. In fact, most DIY built in bookshelves can be built with basic tools.
Essential tools:
- Tape measure
- Level
- Drill
- Circular saw or miter saw
- Stud finder
- Screwdriver
- Sandpaper
Common materials:
- Plywood or MDF
- Wood screws
- Wood glue
- Trim molding
- Paint or stain
- Primer
Many beginners worry about cost. However, choosing MDF instead of solid wood can reduce expenses significantly while still producing a clean, professional look.
Step-by-Step Guide to Building DIY Built In Bookshelves
This is the stage where everything starts to take shape. Once your measurements are set and your materials are ready, the goal is simple: move slowly, check your work often, and focus on getting each step right before moving to the next one. Most problems with built-ins come from rushing, not from lack of skill. Take your time here, and the finished shelves will look stronger and more professional.
Step 1: Create a Simple Design Plan
Before you cut any wood, take a few minutes to sketch your shelves on paper. You don’t need design software or complicated drawings. A basic layout helps you visualize the final result and prevents costly mistakes later.
Your plan should include:
- Shelf height
- Shelf width
- Number of shelves
- Spacing between shelves
- Overall height of the unit
Think about what you’ll actually place on the shelves. Books, baskets, and décor items all require different amounts of space. For example, taller shelves may be needed for large books or storage bins, while smaller spacing works well for decorative items.
Spending a little time planning now saves time, money, and frustration once the building begins.
Step 2: Build the Base Frame
The base frame is the foundation of your built-in bookshelves. It lifts the shelves slightly off the floor, helps you work around baseboards, and supports the weight of everything above it.
Start by cutting pieces of wood to match the width and depth of your shelves. Then assemble them into a rectangular frame using screws and wood glue. Ensure the corners are properly aligned and firmly fastened.
Next:
- Place the base frame against the wall
- Use a level to make sure it sits perfectly flat
- Secure it firmly into the wall studs
This step is critical. If the base is uneven, the entire bookshelf will be uneven. A solid, level base makes the rest of the project much easier.
Step 3: Install Vertical Supports
Vertical supports form the main structure of the shelves. They hold the weight of the shelving boards and keep everything aligned.
Attach the vertical boards to both the base frame and the wall using screws. Always anchor them into wall studs whenever possible. Use a level after each installation to ensure the boards remain straight.
The distance between each section matters more than it seems at first. Even small gaps or crooked boards become noticeable once shelves are installed. Taking an extra minute to double-check alignment now prevents bigger issues later.
Slow and steady wins here.
Step 4: Attach the Shelves
This is the moment when your project starts to look like real bookshelves. The structure is already in place, so now you’re adding the horizontal surfaces that will hold your books and décor.
Slide each shelf into position and secure it with screws, brackets, or support cleats. Make sure each shelf sits firmly and evenly before moving on to the next one.
As you work, keep checking:
- Is the shelf level from side to side?
- Is the spacing consistent between shelves?
- Are all connections tight and secure?
Consistency is what gives built-in bookshelves that clean, professional appearance. Minor tweaks during installation can greatly improve the finished look.
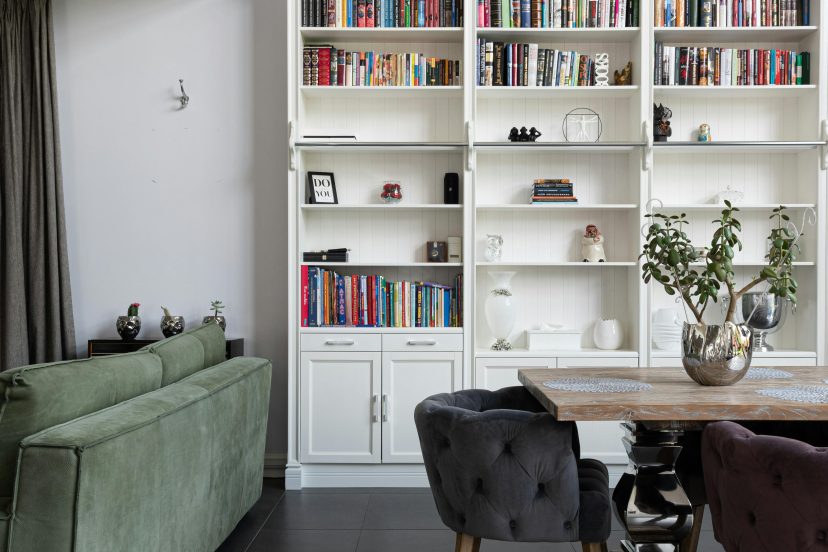
Step 5: Add Trim and Finishing Touches
This is where simple shelves begin to look like true built-ins. Trim pieces hide rough edges, cover seams, and give the shelves a polished, custom-made appearance.
Common trim pieces include:
- Crown molding at the top
- Base trim along the bottom
- Side trim along the edges
Once the trim is installed, focus on finishing details:
- Fill nail holes with wood filler
- Sand surfaces until smooth
- Apply primer to seal the wood
- Paint or stain for the final look
These finishing steps take patience, but they make the biggest visual impact. Smooth paint lines and clean edges are what turn a basic DIY project into something that looks professionally built.
In the end, this final stage is what transforms ordinary wood into beautiful, built-in bookshelves that feel permanent, sturdy, and part of the home.
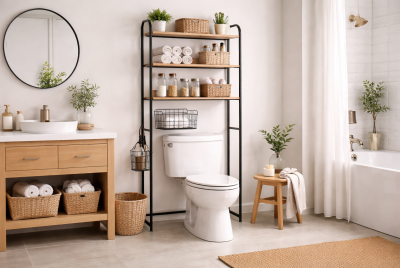
If you’re looking for ideas to complement your new shelves, this guide to earthy cottage home decor offers practical ways to create a welcoming, cohesive space.
Budget Tips to Save Money on Built-In Bookshelves
You don’t need expensive materials to get great results.
Try these practical strategies:
Use standard lumber sizes – Custom cuts cost more. Standard dimensions save money.
Shop sales and clearance sections – Home improvement stores often discount materials.
Paint instead of stain – Paint hides imperfections and reduces finishing costs.
Build in sections – Smaller builds feel manageable and budget-friendly.
Even small decisions add up quickly.
Recommended Products
These tools and materials help simplify the process and improve results.
1. Stud Finder Wall Scanner– Locates wall studs quickly and accurately.
2. Cordless Drill and Driver Set– Essential for assembling frames and installing shelves.
3. Wood Level Tool– Keeps shelves perfectly straight.
4. Paint Sprayer for Cabinets and Shelves– Creates a smooth, professional finish.
5. Wood Filler and Repair Kit– Fixes small gaps and nail holes easily.
Reliable tools reduce frustration and speed up the project.
How Organized Spaces Help Reduce Stress and Improve Focus
A clean and organized home does more than make a space look nice—it can actually support mental well-being. Research shows that everyday cleaning and organizing behaviors can help people manage stress and feel more in control of their environment. For example, a study on cleaning behavior as a coping response to stress found that routine cleaning can help people handle psychological challenges and reduce the impact of stressful situations.
Similarly, mental health experts explain that cluttered environments can increase anxiety and make it harder to focus, while tidy spaces promote calm and clarity. This connection is highlighted in research on how cleaning and mental health are connected, which shows that maintaining an organized environment can improve mood, concentration, and overall well-being.
In practical terms, projects like DIY built-in bookshelves are not just about storage—they help create structure, reduce visual clutter, and make daily life feel more manageable.
Conclusion
DIY built-in bookshelves are one of those projects that blend function and style in a really satisfying way. They solve a practical problem—storage—while also giving your space a finished, custom feel. By planning carefully, building a solid structure, and paying attention to the small details, you can create shelves that look intentional and hold up for years.
Most importantly, this project shows that meaningful home upgrades don’t always require a big budget or professional help. With patience and steady effort, you can turn an empty wall into something useful, personal, and worth being proud of every time you walk into the room.
FAQs
1. How much do DIY built in bookshelves cost?
Most projects cost between $150 and $500, depending on size and materials.
2. Are built-in bookshelves difficult to build?
They are beginner-friendly if you follow step-by-step instructions and measure carefully.
3. What wood is best for built-in bookshelves?
MDF and plywood are popular because they are affordable, smooth, and easy to paint.
4. How long does it take to build built-in bookshelves?
Most DIY projects take one weekend to complete.
5. Are built-in bookshelves a smart investment for homeowners?
Yes, built-in bookshelves are often seen as a valuable upgrade. They add functional storage and improve the overall look of a room.