How to Build DIY Floating Shelves (Step-by-Step Guide)
We may earn a commission for purchases made using our links. Please see our disclosure to learn more.
Floating shelves are one of the easiest ways to add storage without making a room feel crowded. With the right tools and a simple plan, you can build DIY floating shelves that look clean, modern, and sturdy enough to hold everyday items. This step-by-step guide shows you exactly how to measure, install brackets, and mount your shelves securely. Whether you want extra space for books, décor, or kitchen essentials, you’ll learn how to build floating shelves that are both practical and stylish.
How Organized Spaces Improve Mood and Well-Being
Building DIY floating shelves does more than add storage. It can also change how your home feels day to day. When clutter disappears and items have a clear place, a room often feels calmer and easier to enjoy.
Research supports this idea.
One widely cited study on home environments and stress, Home Tours Correlate With Daily Patterns of Mood and Cortisol, found that people who described their homes as cluttered showed higher levels of cortisol, the body’s primary stress hormone. In contrast, participants who described their homes as organized or restorative experienced healthier mood patterns and lower stress.
Similarly, the comprehensive review housing conditions and mental health outcomes research examined multiple studies on indoor environments and well-being. Researchers concluded that home design and organization can significantly influence mental health, comfort, and overall quality of life.
This explains why simple upgrades like installing DIY floating shelves often feel so satisfying. By reducing clutter and improving organization, they can make a space feel more intentional, relaxing, and functional.
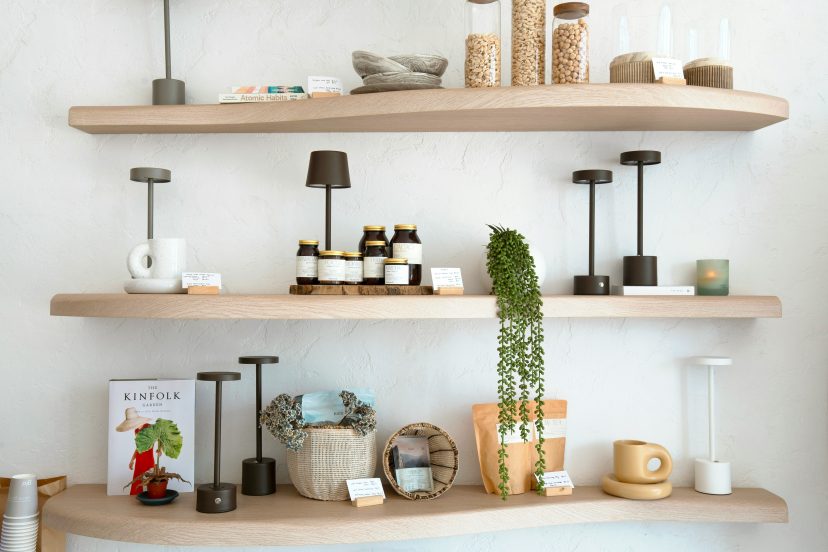
Design Ideas for Floating Shelves
Floating shelves work in almost every room. With some thoughtful styling, these shelves can easily become a focal point in your space.
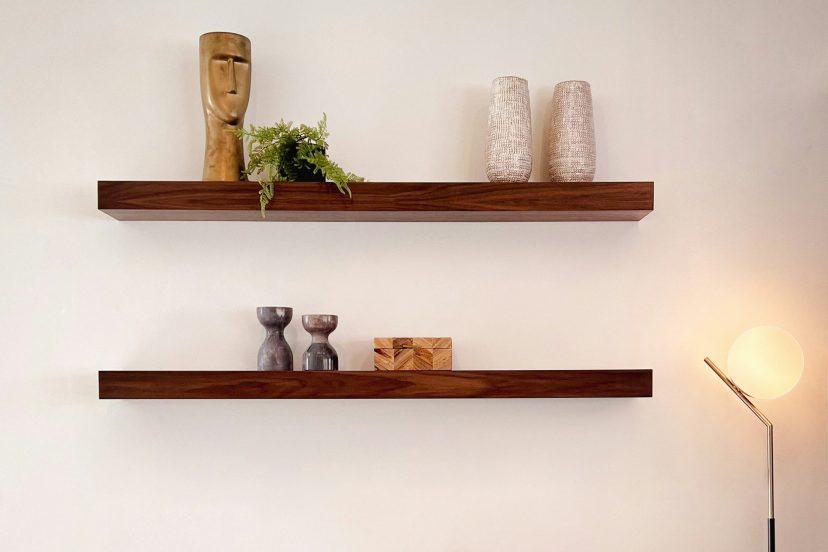
Living Room Display Shelves
Use shelves to display:
- Books
- Artwork
- Framed photos
- Plants
Layer objects at different heights to create visual interest.
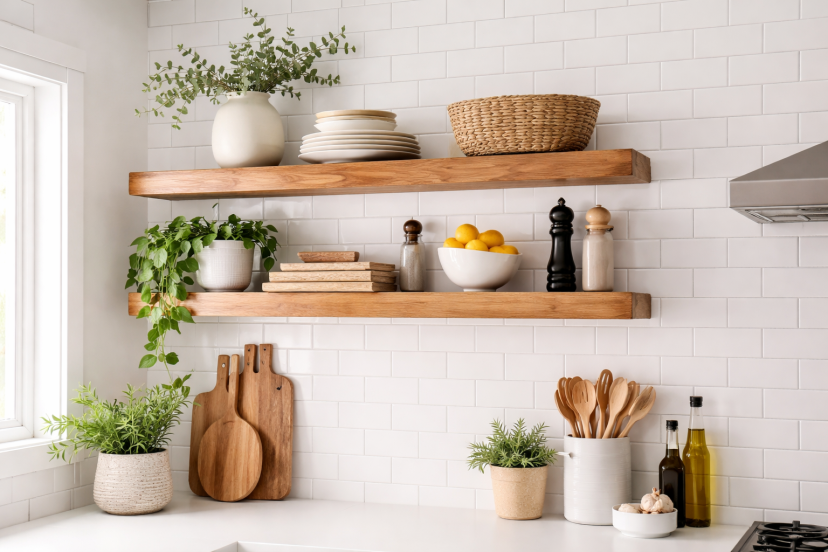
Kitchen Storage Shelves
Floating shelves in the kitchen keep essentials within reach.
Popular items include:
- Coffee mugs
- Spice jars
- Cookbooks
- Small plants
Open shelving also makes kitchens feel brighter and less cluttered.
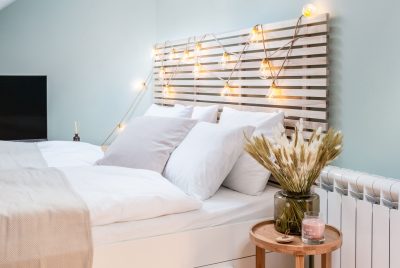
Bedroom Accent Shelves
In bedrooms, floating shelves work well above nightstands.
You can place:
- Reading lamps
- Decorative pieces
- Small storage baskets
The result feels minimal yet cozy.
Record Storage Shelves
Floating shelves also work beautifully for vinyl collections.
If you’re looking for creative inspiration, this guide on vinyl record storage ideas explains clever ways to organize records while turning them into décor.
Tools and Materials You’ll Need
Before you begin building DIY floating shelves, gather the basic tools and supplies. Preparing your tools and materials in advance helps the project go more smoothly and reduces the chance of mistakes.
Basic Tools
- Power drill
- Stud finder
- Level
- Tape measure
- Screwdriver
- Pencil for marking
Materials
- Wooden boards (for the shelf surface)
- Shelf brackets or floating shelf hardware
- Wood screws
- Wall anchors (if studs are unavailable)
- Sandpaper
- Wood stain or paint
Quality tools make a noticeable difference. They allow precise measurements and secure installation, which helps the shelves hold more weight.
Step-by-Step Guide to Building DIY Floating Shelves
Step 1: Measure Your Space
Start by deciding where the shelf will go.
Measure the wall area carefully. Think about the objects you plan to display. For example:
- Books need deeper shelves
- Decorative pieces require less depth
- Kitchen shelves should hold heavier items
Most floating shelves range between 6 and 12 inches deep.
Mark the wall lightly with a pencil to visualize placement.
Step 2: Locate Wall Studs
This step is crucial for safety.
A stud finder helps identify the wall studs, which provide the solid support needed to securely hold floating shelves.
If you skip this step, the shelves may sag or pull away from the wall over time.
Mark the stud positions clearly. Ideally, your mounting brackets should attach directly into these studs.
If studs aren’t available where you want the shelf, install heavy-duty wall anchors.
Step 3: Install the Mounting Bracket
Next, attach the floating shelf bracket to the wall.
Follow these steps:
- Align the bracket with your wall markings
- Use a level to ensure the bracket sits perfectly straight
- Drill pilot holes into the studs
- Secure the bracket with screws
Take your time here. A slightly crooked bracket will make the shelf look uneven.
Once the bracket feels firm and stable, you’re ready for the next step.
Step 4: Prepare the Wooden Shelf
Now focus on the shelf itself.
Start by sanding the wood. Smooth edges and surfaces help paint or stain adhere better.
Once sanding is complete, remove the leftover dust using a clean, dry cloth.
Next, apply your chosen finish.
You can choose:
- Natural wood stain for a warm look
- White paint for a modern aesthetic
- Matte black for industrial style
Allow the finish to dry completely before installation.
Step 5: Attach the Shelf to the Bracket
Slide the wooden shelf onto the floating bracket.
Some systems include hidden rods that slide into the shelf. Others require screws from underneath.
Secure the shelf carefully so it sits flush against the wall.
Finally, place a level on top to confirm it sits perfectly straight.
Once installed, test the shelf by applying gentle pressure.
If it feels solid, congratulations—you’ve built your first DIY floating shelf.
Recommended Products
These tools and materials make the project easier and more reliable.
1. Stud Finder Wall Scanner– Helps detect wall studs quickly and prevents drilling mistakes.
2. Heavy Duty Floating Shelf Brackets– Strong hidden brackets designed for clean floating shelf installation.
3. Cordless Power Drill Set– Essential for drilling pilot holes and securing screws.
4. Professional Level Tool– Ensures shelves stay perfectly straight during installation.
5. Wood Stain and Finish Kit– Adds color, protection, and durability to your shelves.
Using quality tools can speed up the process and lead to more professional-looking results.
Tips for Making Floating Shelves Look Professional
Even simple DIY floating shelves can look professionally installed if you follow a few practical tips.
Use Consistent Spacing
Spacing between shelves should feel balanced.
A common rule is 12 to 18 inches between shelves.
Don’t Overload Shelves
Although floating shelves look strong, they still have weight limits.
Heavy books or dishes should sit near brackets or studs.
Keep Styling Simple
Avoid overcrowding.
Leave a little empty space so the shelf design stands out.
Match Your Interior Style
Choose wood finishes that complement your furniture and flooring.
Doing this helps the room feel more coordinated and visually refined.
Conclusion
Building DIY floating shelves is one of those home projects that feels small but makes a big difference. Once they’re up, you suddenly have a place for books, plants, photos, or everyday items that used to clutter tables and counters. The key is taking your time with measurements and securing the brackets properly so the shelves stay solid and level. After that, you can style them however you like. In the end, you’re left with a clean, modern upgrade that looks great and adds practical storage without taking up extra space.
FAQs
Are DIY floating shelves strong?
Yes, they can be very strong when installed correctly. Mounting brackets directly into wall studs allows shelves to support significant weight.
What kind of wood works best when building floating shelves?
Hardwoods such as oak, maple, and walnut are excellent choices because they are durable and resist bending.
Do floating shelves need to be mounted into studs?
No, but mounting them into studs provides the strongest and most secure support. Heavy-duty wall anchors can be used if studs are not available.
Can floating shelves hold books?
Yes. However, ensure the brackets attach to studs and use sturdy wood boards to prevent sagging.
What distance should you leave between floating shelves?
A spacing of 12 to 18 inches between shelves usually looks balanced and provides enough room for décor or storage items.